🍂 Fall Sale – 5% OFF Code: FALL5 | Free Shipping 🍁






















Reborn Doll Kits: The Complete Guide From Blank Kit to Lifelike Baby

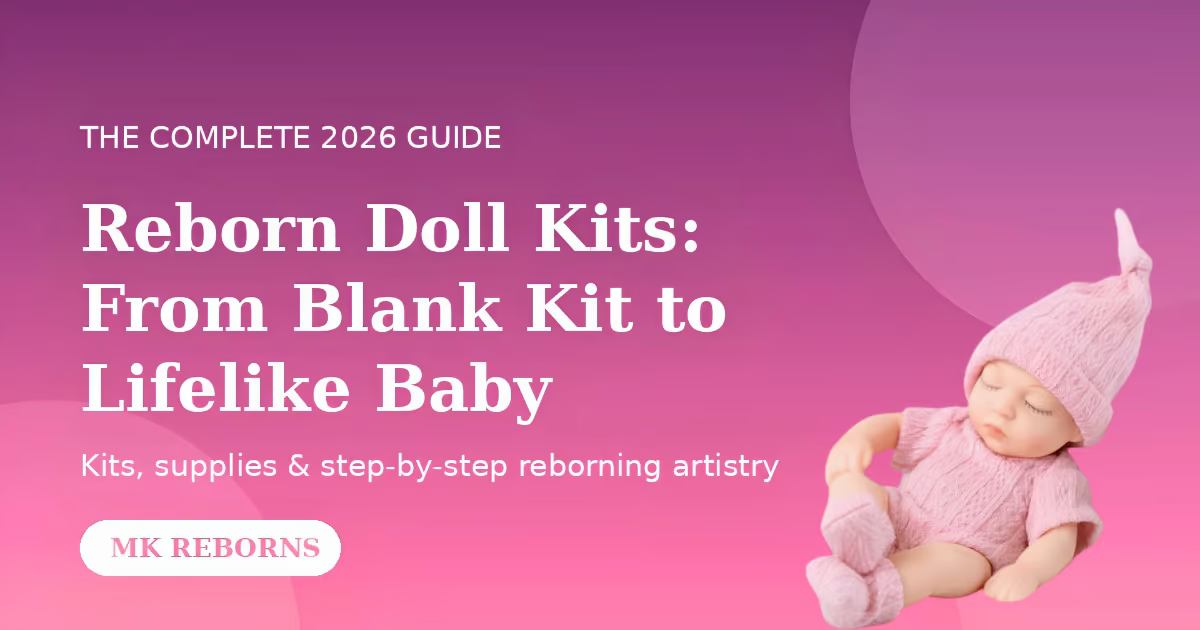
There is a quiet moment every reborn artist knows. The paint has cured, the hair is rooted, the tiny lashes are set — and suddenly the vinyl sculpt you unwrapped weeks ago is looking back at you like a sleeping newborn. That transformation, from a pale blank kit to a baby that seems to breathe, is the heart of the reborning art form. And it all begins with one decision: choosing the right reborn doll kit.
Whether you are a first-time hobbyist wondering what actually comes in the box, a collector deciding between building your own and buying a finished doll from our lifelike reborn dolls collection, or an experienced artist comparing vinyl and silicone blanks, this guide walks through everything: kit types, supplies, the step-by-step reborning process, honest cost math, and the questions we hear most often at Mk Reborns.
What Is a Reborn Doll Kit?
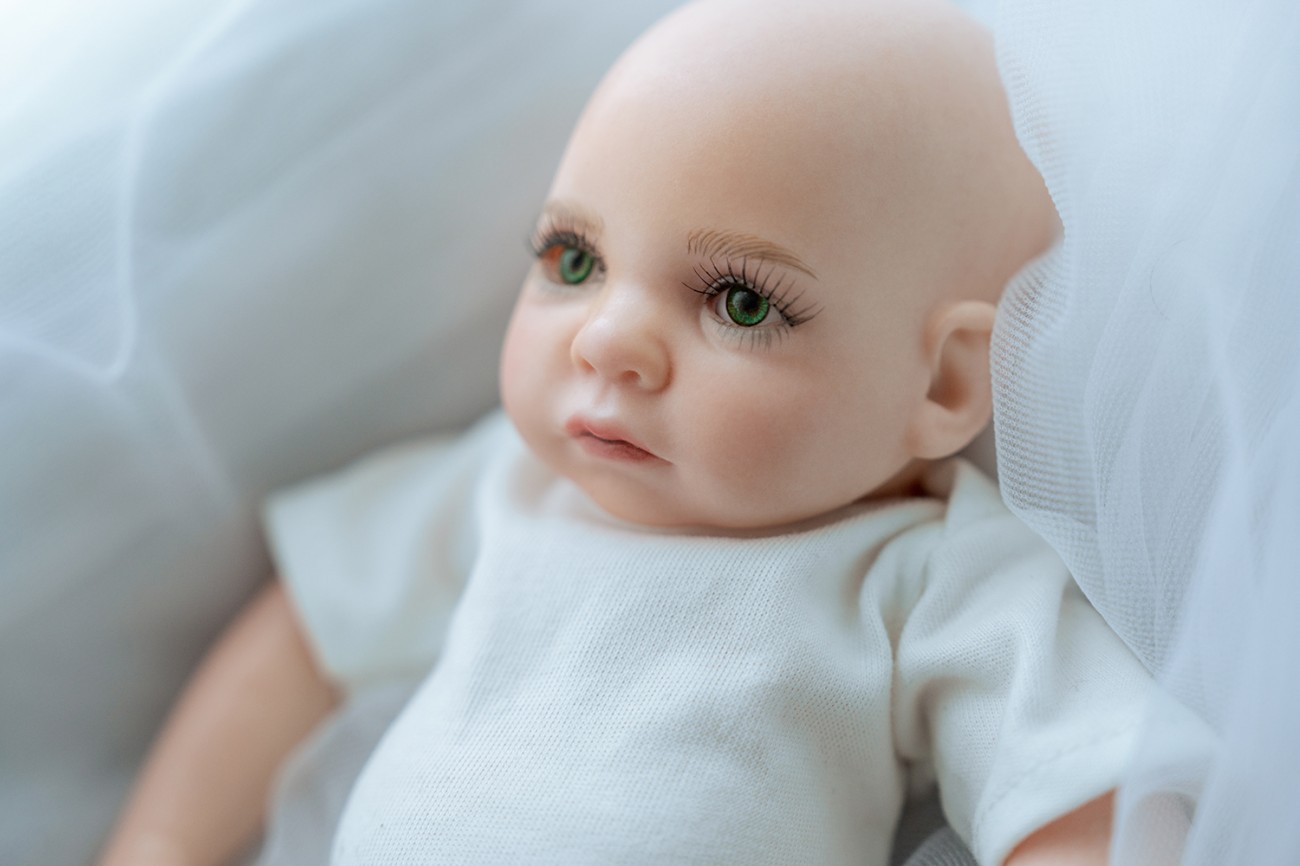
A reborn doll kit is an unfinished set of doll parts — typically a head, arms, and legs sculpted in soft vinyl or silicone — sold blank so that an artist can paint, root, weight, and assemble it into a realistic baby doll. Unlike a factory-finished toy, a kit arrives pale and featureless on purpose: the realism is added by hand, layer by layer, through a process the community calls reborning.
A typical kit includes:
- Vinyl or silicone parts — head, 3/4 or full limbs, sculpted by a doll artist and cast from an original mold
- A cloth body (in many kits) — the soft torso the limbs and head attach to
- Certificate of authenticity — for limited-edition sculpts, stating the sculptor and edition number
- Sometimes extras — cable ties, doe suede body, or a belly/back plate
What a kit does not include is just as important: paint, rooting hair, glass or acrylic eyes, weighting materials, and hours of skilled labor. That gap between “blank” and “breathtaking” is exactly why finished reborns — like the ones in our real life baby dolls collection — command the prices they do.
The Main Types of Reborn Doll Kits
1. Vinyl Reborn Kits (The Classic Choice)
The overwhelming majority of reborn kits are cast in soft-touch vinyl. Vinyl takes heat-set paints beautifully, holds rooted hair well, and is forgiving for beginners — mistakes can often be wiped or stripped and repainted. Vinyl kits are also the most affordable entry point, and the finished result can be astonishingly lifelike; our vinyl reborn dolls show just how far the medium can go in skilled hands.
2. Silicone Reborn Kits (The Premium Path)
Full-silicone blanks are squishy, poseable, and skin-soft, but they are also expensive, easily stained, and demand silicone-specific paints and solvents. Most artists recommend mastering vinyl before attempting silicone. If the feel of solid silicone is what draws you to the hobby, it is often wiser to buy a finished piece from a full silicone reborn dolls collection than to risk several hundred dollars learning on an unforgiving blank.
3. Painted vs. Unpainted Kits
Kits are sold either as unpainted blanks (pale, untouched vinyl — maximum creative freedom) or pre-painted kits (factory or artist base-painted, needing only assembly, weighting, and hair). Pre-painted kits are a gentle on-ramp for nervous beginners, though purists will tell you the soul of reborning lives in the painting itself.
4. Kit Sizes: From Micro Minis to Toddlers
Size changes everything — paint quantities, body weighting, clothing, and display. Common tiers include:
- Micro & mini kits (6–12 inches) — quick projects, low material cost, adorable results. Finished minis live in our 8 inch reborn dolls collection
- Preemie kits (14–16 inches) — smaller than newborn, popular for memorial and comfort pieces
- Newborn kits (17–20 inches) — the classic “true newborn” scale, the best-selling tier worldwide
- Big baby & toddler kits (22–28 inches) — real-clothes scale; see how sizing maps to outfits in our complete reborn doll size & style guide
The Complete Reborn Supplies Checklist
Before the first layer of paint, assemble your toolkit. Here is the honest, no-fluff list a working artist actually uses:
| Category | Essential Items | Typical Cost (USD) |
|---|---|---|
| Paints | Heat-set air-dry or Genesis-style paint set (flesh tones, mottling colors, blues, creams) | $40–$120 |
| Brushes & sponges | Round detail brushes, flat brushes, cosmetic wedges, sea sponges for mottling | $15–$40 |
| Hair | Premium mohair or alpaca (or a quality wig), rooting needles 42–46 gauge, needle holder | $25–$80 |
| Eyes & lashes | Glass or acrylic eyes sized to the sculpt, fine lashes, eye-setting wax | $10–$45 |
| Weighting | Fine glass beads (in stockings/bags), polyfil stuffing — never loose sand | $15–$30 |
| Finishing | Matte varnish, satin sealer for lips/nails, inner-mouth paint | $15–$35 |
| Tools | Cable ties, body clips, heat source (oven/heat gun for heat-set paints), gloves | $10–$25 |
Budget roughly $130–$375 in supplies on top of the kit itself for a first build. Much of it (paints, brushes, needles) carries over to your next three or four dolls, which is why the per-doll cost falls sharply after your first project.
A Short History: Why Blank Kits Exist at All
Reborning began in the early 1990s, when American collectors — frustrated that even the best factory dolls looked painted rather than alive — started stripping mass-produced vinyl dolls down to the blank and repainting them by hand. The results circulated through doll shows and early internet forums, and demand grew so quickly that sculptors began designing vinyl heads and limbs specifically to be reborned: sold pale, unpainted, and unassembled. The blank kit was born, and with it an entire cottage industry of paint makers, mohair farms, and eye artisans.
That history explains two things beginners often find confusing. First, why kits look almost ghostly out of the box — they are deliberately under-finished, a canvas rather than a product. Second, why sculpt names matter so much: a kit is credited to its sculptor the way a print is credited to a photographer, and limited editions with certificates hold their value precisely because the community treats sculpts as art editions. When you buy a finished reborn from a studio, you are buying two artists’ work at once — the sculptor’s and the painter’s.
Choosing Paints: Genesis-Style Heat-Set vs. Air-Dry
The single most consequential supply decision is your paint system, and it shapes everything from workflow to studio safety:
| Factor | Heat-Set (Genesis-style) | Air-Dry (reborn-specific acrylics) |
|---|---|---|
| Curing | Baked at ~130°C / 265°F between layers | Cures at room temperature, no oven |
| Working time | Indefinite until baked — blend forever | Minutes — plan each layer before you touch vinyl |
| Forgiveness | Wipes off completely before curing | Harder to remove once tacky |
| Safety | Needs a dedicated (non-food) oven and ventilation | Water-based, home-studio friendly |
| Longevity | Decades-proven finish | Modern formulas excellent; seal well |
Most veteran artists learned on heat-set paints, and most new artists in the last few years have started on air-dry — both produce museum-quality results. The honest advice: pick the system your living situation supports (an apartment without a spare oven points firmly to air-dry) and stay with it long enough to stop fighting the medium. Realism comes from layer discipline, not brand names.
How to Make a Reborn Doll: The 7-Step Process
Step 1 — Prep and Clean the Vinyl
Wash every part in warm water with a drop of dish soap to strip factory residue, then wipe with a paint-prep solution. Skipping prep is the number-one cause of paint that beads, streaks, or peels later.
Step 2 — Build the Skin in Translucent Layers
Realistic newborn skin is not one color; it is dozens of whisper-thin veils. Artists sponge on mottling layers (blues, mauves, reds), flesh washes, and vein tints — curing each layer with heat before the next. A convincing complexion typically takes 15 to 30 layers. This layering philosophy is the same one our own artists describe in the alchemy of realism: mastering the reborning process.
Step 3 — Detail the Features
Blushed cheeks, milk spots, birth marks, moist-looking nostrils and inner ears, layered lip color with a satin sheen, and delicate eyebrow strokes — this is where a doll’s individual personality emerges.
Step 4 — Root the Hair (or Fit a Wig)
Micro-rooting inserts one to three strands of mohair at a time with a barbed needle, following newborn growth swirls. A full head can take 20–40 hours — often longer than all painting combined — and is the single biggest realism multiplier on a finished doll. Hair is then sealed inside the head with glue.
Step 5 — Set the Eyes and Lashes
Open-eyed sculpts need eyes positioned with even “catch light” — a millimeter off and the gaze feels wrong. Lashes are trimmed and set individually or in fine strips.
Step 6 — Weight and Assemble
Glass-bead pouches go into the head and limbs; the cloth body is layered bead-bag-then-polyfil so the doll slumps and rolls like a sleeping infant instead of feeling like a sack. A properly weighted newborn-size reborn lands between 4 and 6 pounds — the weight your arms remember.
Step 7 — Final Seal, Dress, and Detail
A matte varnish protects the paint (satin only on lips and nails), a magnetic pacifier is fitted if desired, and the baby is dressed. For finishing touches that push realism further, see which reborn doll accessories make your doll look more realistic.
What Does It Really Cost? Kit vs. Finished Reborn
Honest math matters, because “making it yourself to save money” is only sometimes true:
| Path | Cash Outlay | Time Investment | Result |
|---|---|---|---|
| Budget vinyl kit + supplies (first build) | $180–$450 | 40–80 hours | Beginner finish; realism grows with practice |
| Limited-edition kit + supplies (experienced) | $300–$700 | 50–100 hours | Collector-grade if your skills are there |
| Finished artist reborn (buy ready-made) | $60–$600+ | 0 hours | Guaranteed finish quality; ready to hold today |
If the making is what calls to you — the meditative painting hours, the pride of the finished nursery — a kit is one of the most rewarding crafts there is. If what you want is the baby, a finished doll is usually the better value: you can browse ready-to-ship pieces across every budget in our budget reborn dolls collection and the full Mk Reborns shop, where every doll has already survived our artists’ quality checks.
Choosing Your First Kit: A Decision Guide
- If you have never painted vinyl: start with an inexpensive 17–20 inch vinyl blank (not a limited edition you’d grieve over), sleeping-eyed (no eye-setting), and plan a wig instead of rooting.
- If you’ve done one or two dolls: try an open-eyed sculpt and micro-rooting on the crown only, blending into a wig.
- If you’re an experienced crafter in other media: a mid-range limited edition sculpt will keep you motivated; your brush control will transfer faster than you expect.
- If realism-on-arrival matters more than the journey: skip the kit and choose a finished doll — compare what “collector grade” means in our guide to play-grade vs collector-grade reborns.
- If you want something no hospital nursery ever held: fantasy sculpts (elves, avatars, mythical babies) make unforgettable projects — or explore our finished avatar reborn dolls for inspiration.
The 10 Most Common First-Kit Mistakes (and How to Dodge Them)
Every experienced reborner has a “first doll drawer” they don’t open in company. These are the mistakes that put dolls in that drawer:
- Skipping vinyl prep. Unwashed factory residue makes paint bead and peel weeks later. Wash and prep every part, every time.
- Opaque layers. If a single layer visibly changes the doll’s color, it’s too thick. Realism is twenty whispers, not one shout.
- Rushing the cure. Stacking uncured layers turns crisp mottling into mud. Respect the bake or dry time between every pass.
- Starting with a limited edition. Learning on a $200 sculpt you love guarantees heartbreak. Learn on a blank you can afford to ruin.
- Rooting with cheap hair. Craft-store mohair frizzes and breaks. Premium mohair or alpaca costs more per gram and saves the whole project.
- Wrong needle gauge. A 42-gauge needle on a fine sculpt leaves visible holes; test on the neck flange (hidden after assembly) first.
- Overstuffing the body. Firm bodies feel like toys. Under-stuff and layer bead bags low so the doll slumps like sleeping weight.
- Loose weighting material. Never pour beads directly into vinyl limbs — bag them. Loose fill leaks, shifts, and rattles.
- Forgetting the seal coat. Unsealed paint scuffs with handling. Matte-varnish everything; satin only lips and nails.
- Comparing your first doll to a 15-year veteran’s Instagram. The gap is hours, not talent. Reborning rewards patience more than any craft we know.
Where to Buy Kits — and How to Avoid Pirated Sculpts
The reborn world has a counterfeiting problem worth understanding before you spend. Popular sculpts are illegally recast from finished dolls and sold cheaply — usually with slightly melted-looking details, missing certificates, and no sculptor name. Pirated kits hurt the sculptors whose originals make this art form possible, and they finish poorly: recast vinyl is often glossier and takes paint unevenly.
Buy from established doll-supply retailers or direct from sculptors’ sites; expect a certificate for limited editions; and treat “brand new limited edition, 80% off” listings the way you’d treat any deal that good. If your goal is a finished doll rather than a project, buying from a studio that stands behind its sourcing — every doll in the Mk Reborns shop ships with its full material and finishing details listed — sidesteps the problem entirely.
A Small Glossary for Your First Forum Visit
- Blank / kit — unpainted vinyl or silicone parts, pre-reborning
- Reborning — the full finishing process: painting, rooting, weighting, assembly
- Mottling — the dappled skin-tone texture sponged in translucent layers
- Rooting — inserting hair strand-by-strand with a barbed needle
- COA — certificate of authenticity naming sculpt, sculptor, and edition number
- Belly / back plate — a sculpted vinyl panel worn over the cloth torso for skin-to-skin realism
- Portrait doll — a reborn commissioned to resemble a specific baby, often from photographs
- Box opening — the community ritual of unboxing a new arrival on video, tissue paper and all
Caring for the Doll You Made
A finished reborn is mixed-media art: vinyl, paint, mohair, and textile. Keep it out of direct sunlight, away from heat sources, handled with clean dry hands, and brushed gently with a soft wig brush. Never submerge a rooted head. For the full preservation routine our artists recommend to collectors, read the reborn artistry protection guide.
Why Reborn Kits — and the Hands That Finish Them — Matter
Every reborn begins as the same blank kit. What makes one doll forgettable and another impossible to put down is the human part: the artist who mixed nine flesh tones to match a memory, who rooted hair one strand at a time at midnight, who weighted the body until it settled into an arm like a real newborn settles. That is the craft we practice every day at Mk Reborns, and it’s why collectors trust our finished dolls — whether they arrived here searching for a first kit, a therapy companion, or a portrait of a baby they never got to bring home.
Start with a kit, or start with a finished baby. Either way, you’re starting a story.
Your First Project: A Realistic 30-Day Timeline
Numbers like “40 to 80 hours” are honest but abstract. Here is how a first kit actually unfolds for a hobbyist working evenings and weekends — plan around this and you’ll never feel behind:
- Days 1–3: Gather and prep. Unbox, inspect every part against the listing, wash and prep the vinyl, and set up a workspace you won’t have to tear down nightly. A cheap muffin tin makes a fine parts caddy; good daylight-temperature lamps are non-negotiable.
- Days 4–14: The complexion. One to three thin layers per session, curing between. This is the meditative heart of the project — mottling, veining, undertones, blush. Photograph the parts after every session; day-over-day photos reveal color drift your adapted eyes can’t see.
- Days 15–17: Features. Lips, nails, brows, nostrils, creases. Work with reference photos of real newborns beside you, not from imagination — realism lives in observed detail.
- Days 18–26: Hair. If rooting: short daily sessions beat marathon ones; your insertion angle degrades with hand fatigue, and consistency matters more than speed. If wigging: one careful evening, then move on guilt-free.
- Days 27–28: Assembly and weighting. Bead bags, polyfil, limbs, head — then hold the doll for a full minute before closing the body. Adjust until the slump feels right in your arms; you’re the one who’ll hold this baby.
- Days 29–30: Seal, dress, and the quiet moment. Final matte varnish, satin on lips and nails, first outfit, and the traditional finishing ritual: sitting down and just holding what you made. Every artist remembers their first one.
Two schedule truths worth accepting up front. Curing time is the boss of the project — you cannot rush paint chemistry, and trying is how muddy dolls happen. And nearly every first-timer stalls once, usually at rooting; when it happens, switch to a different part rather than stopping entirely. Momentum, not talent, finishes first dolls.
Kits as Gifts, Therapy, and Memory-Keeping
One more dimension deserves honest words, because it’s the part of this hobby outsiders least expect: reborning is, for many people, emotional work in the best sense. Grief counselors and hospice programs have long known that hands kept busy help hearts process, and a months-long project that ends in a baby to hold occupies a unique place between craft and comfort. We regularly hear from customers who reborned a kit in memory of a child, chose sculpts resembling grandchildren living oceans away, or took up rooting needles during recovery from illness because the repetitive, meticulous work quieted their minds like nothing else.
If you’re considering a kit as a gift, match it to the recipient honestly. For a crafty teenager or a first-timer, a complete beginner bundle (blank + starter paints + wig) removes the intimidating supply hunt. For someone grieving, consider whether the process or the presence will help more — a finished doll they can hold this week is sometimes the kinder gift than a project requiring forty hours they may not have. There is no wrong answer; there is only knowing the person. And if you’re unsure, our team is genuinely happy to talk it through — helping people find the right baby, made or ready-made, is the entire reason Mk Reborns exists.
Frequently Asked Questions About Reborn Doll Kits
What comes in a reborn doll kit?
A blank vinyl or silicone head and limbs, usually a cloth body, and (for limited editions) a certificate of authenticity. Paint, hair, eyes, weighting materials, and tools are purchased separately.
How much does it cost to make a reborn doll from a kit?
A realistic first-build budget is $180–$450: a $50–$150 vinyl kit plus $130–$300 in paints, mohair, eyes, weighting, and tools. Limited-edition sculpts and silicone blanks cost significantly more.
How long does it take to make a reborn doll?
Most artists spend 40–80 hours on a full build: 15–30 paint layers with curing time, 20–40 hours of hair rooting, plus assembly and finishing. Wigged, sleeping-eyed builds are much faster.
Are reborn kits good for beginners?
Yes — vinyl kits specifically. Choose an affordable, non-limited, sleeping-eyed sculpt for your first project so you can practice fearlessly. Silicone kits are not recommended until you have several vinyl builds behind you.
Is it cheaper to make a reborn or buy one?
For one doll, buying a finished reborn is usually cheaper once you price supplies and tools honestly. Making becomes economical (and deeply satisfying) from the second or third doll onward, when your tools are already paid for.
Do I need an oven to make a reborn doll?
Only for heat-set paints (cured at low temperature). Many modern artists use air-dry reborn paints instead, which need no baking and are safer for home studios.
What is the difference between a reborn kit and a finished reborn doll?
A kit is unpainted, unassembled parts for artists to finish; a finished reborn has been painted, rooted, weighted, and assembled by an artist and is ready to hold on arrival. Kits cost less in cash but require 40+ hours of skilled work and $130+ in supplies.
How do I know a reborn kit isn’t a pirated recast?
Buy from established retailers or the sculptor directly, expect a certificate of authenticity on limited editions, and be suspicious of steep discounts on popular sculpt names. Recasts finish poorly and harm the sculptors who keep the art form alive.
What size reborn kit should a beginner choose?
A 17–20 inch newborn-scale vinyl kit is the beginner sweet spot: large enough to paint comfortably, standard enough that clothes, bodies, and tutorials all fit, and inexpensive enough to practice on fearlessly.
Can I sell dolls I make from reborn kits?
Usually yes for the finished doll itself — reborning a legally purchased kit and selling your finished work is standard practice in the community. What you cannot do is copy or recast the sculpt, use the sculptor’s promotional photos, or sell a pirated kit’s offspring. Always credit the sculpt name and sculptor in your listing; buyers expect it and it protects everyone.